Lighting 101: When to shoot
The best lighting for indoor photos is when the sun is bright and shining. Outdoor shots are best taken at dusk. Avoid cloudy, rainy, and overcast days, as they can cause bad lighting and an uneven white balance.
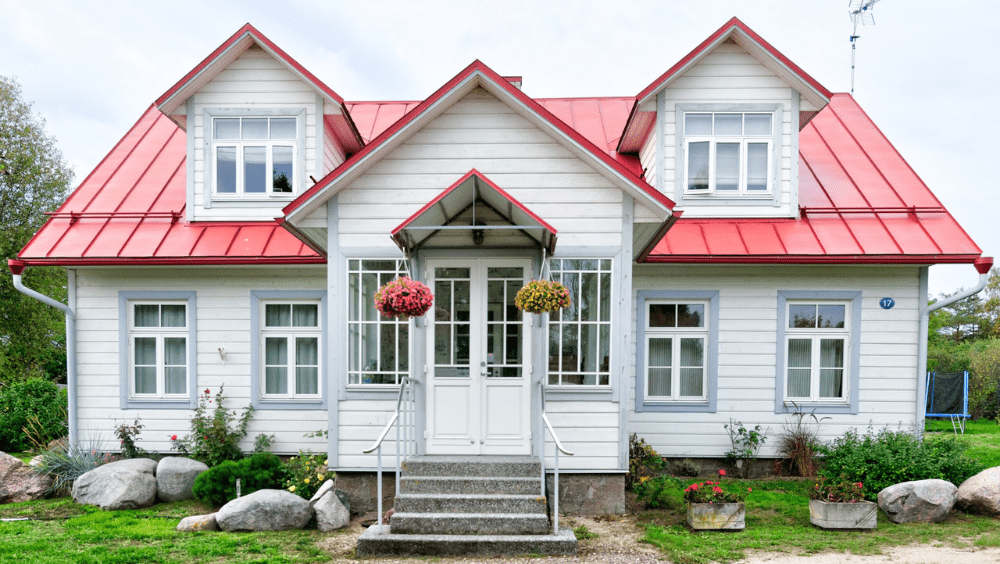
If you want to get even more technical about it, the best time to shoot depends on the way each room (and the house) faces. You want the sun to be behind the camera so that colors are illuminated. For example, when taking photos of an exterior, you can assume that: you should shoot an East-facing house in the morning, a West-facing house in the afternoon, a North-facing house from 10 a.m. to 4 p.m., and a South-facing house in the early am or just before the sun sets.
For interior shots, consider the placement of the windows in every room, and evaluate the position of the sun. Then, take a few test shots to determine if the light is perfect. You should be able to see the colors and details in the room, but the shots shouldn’t be so bright that colors and windows are blown out.
You should never rely on artificial lighting in a room unless the house is dark itself and every lightbulb in the room is the same.
What colors work best in real estate photos?
If you’ve ever been to an open house or seen listing photos where every wall in a house is painted a bright, neon shade, it can be overwhelming. It also means that the minute buyers get the keys, they’ll have to paint.
If you’re a big fan of bold hues, it’s time to get out the paintbrush or hire a crew to paint the home.
Carter recommends: “If they’ve got a bright color like a lime green, it does not shoot as well as a neutral color does. Even a darker color shoots a little bit better than some of those brighter colors: the pinks and the purples that they use in some of the bedrooms for the kids. They just don’t turn out as well. So the lighter shades seem to work better and make the room feel larger.”
If you need a light and neutral shade, opt for an ever-popular off-white like “Silky White” by Behr.
If you’re all about color, then do pops of yellow. According to Carter, yellow is a bright, warm, and welcoming color that can ignite a sense of feeling at home. Try yellow throw pillows on the couch, a bowl of lemons, or a bouquet of yellow flowers (if you plan to refresh them any time there is a showing).
Create the perfect composition
There are many different schools of thought on the best way to create the best composition for each photo. Some photographers believe in head-on shots, others stick by shots from the corner of the room, and others say to mix it up and find the most creative angle you can.
Since every space is different, try shooting at each of those angles: take a shot head-on, take one from the corner of the room, and then take a photo from another spot in the room you think will come out well.
If you want to get technical about it, take a shot at a 1-point perspective and a shot at a 2-point perspective. Basically, a shot at 1 1-point perspective will have a central focal point like the corner of the room or the fireplace. A 2-point perspective shot will have two “vanishing points” or points of focus.
Make sure that all vertical lines in the image are perfectly vertical. This is where your tripod comes in handy!
In the living room and family room, the camera should be set anywhere between 36” and 48” high, or about the height of a person sitting down while watching the entertainment system. The reason there’s such a large gap is because there’s a large variety in furniture height.
The optimal camera height depends on your space and the way you have it set up. You need to use your best judgment so that you get as much of the room as possible. Don’t focus as much on your furniture: you’re selling the house, and features like crown molding and built-ins should take priority over personal items.
In bedrooms, the camera should be 15”-20” higher than the bed, and in the kitchen, the camera should be 15”-20” higher than the kitchen counter.
A good rule of thumb to stick by is that you want to capture more floor than ceiling. Floors are often patterned and interesting, especially if you have decorative tile or hardwood.
Tell a story with your real estate photos
If a buyer finds your listing online, the photos are what you have to win them over. So, the photos need to create a compelling story of your home.
The best way to tell this “story” is with great photos (of course!) and the order you present the photos with the listing. Expert agent Kathleen Caponigro recommends putting the photos in the order you would enter the home.
The order should be: the exterior, then the entryway, kitchen, dining room, living room, master, and then any additional bedrooms.
Anyone who finds your house online should then feel like they’re walking through the home just like they would at an open house or if they lived there.